| Ready-to-Use Chemical Solution (Minimum 55 PSI at Unit) |
| Supply Line | 1" ID |
| Temperature | up to 160°F |
| Pressure | 55-125 PSI |
| Flow | Variable-up to 16 GPM |
| Hose/Pipe | 1-1/2'' |
| Compressed Air | up to 14 CFM |
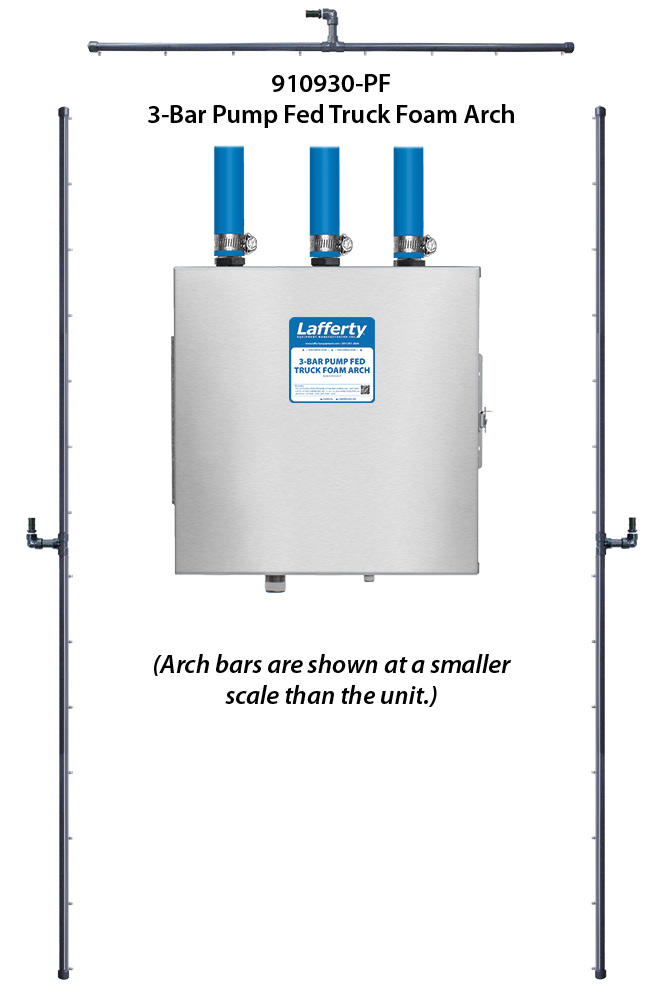
| Nozzles | |
| Top Bar | 4040 |
| Side Bars | 6530 |
Requirements
| Ready-to-Use Chemical Solution (Minimum 55 PSI at Unit) |
| Supply Line | 1" ID |
| Temperature | up to 160°F |
| Pressure | 55-125 PSI |
| Flow | Variable-up to 16 GPM |
| Hose/Pipe | 1-1/2'' |
| Compressed Air | up to 14 CFM |
| Nozzles | |
| Top Bar | 4040 |
| Side Bars | 6530 |
Overview
Safety & Operational Precautions
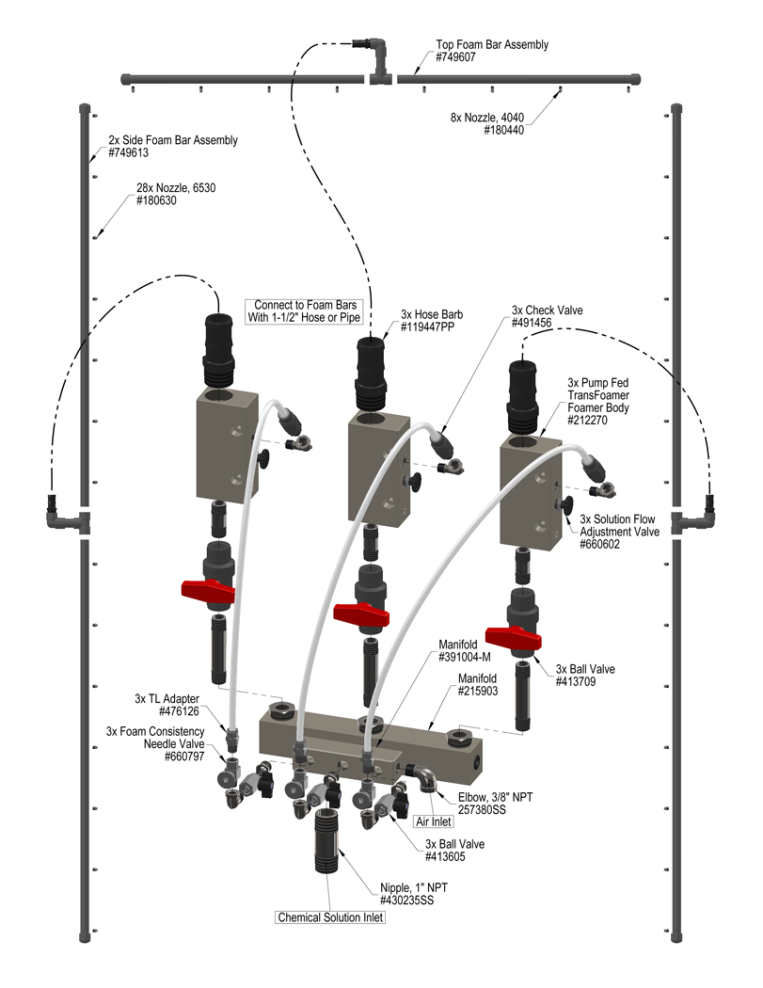
To Install (refer to diagram on next page)
TO FOAM
Troubleshooting Guide |
|---|
| Problem | Possible Cause / Solution | |
|---|---|---|
| Startup | Maintenance | |
| A) Foam surges and/or hose "bucks". B) Foam will not fill up all nozzles. C) Foam too wet or doesn't clean. | 1, 2, 3, 4, 6, 7, 8 1, 2, 3, 4, 7, 8 2, 3, 4, 6, 7 |
9,11 10 |
| Possible Cause / Solution | |
|---|---|
| Startup | Maintenance |
|
|
PREVENTIVE MAINTENANCE: When the unit will be out of service for extended periods, place chemical tube(s) in water and flush the chemical out of the unit to help prevent chemical from drying out and causing build-up. Periodically check and clean chemical strainer and replace if missing. |