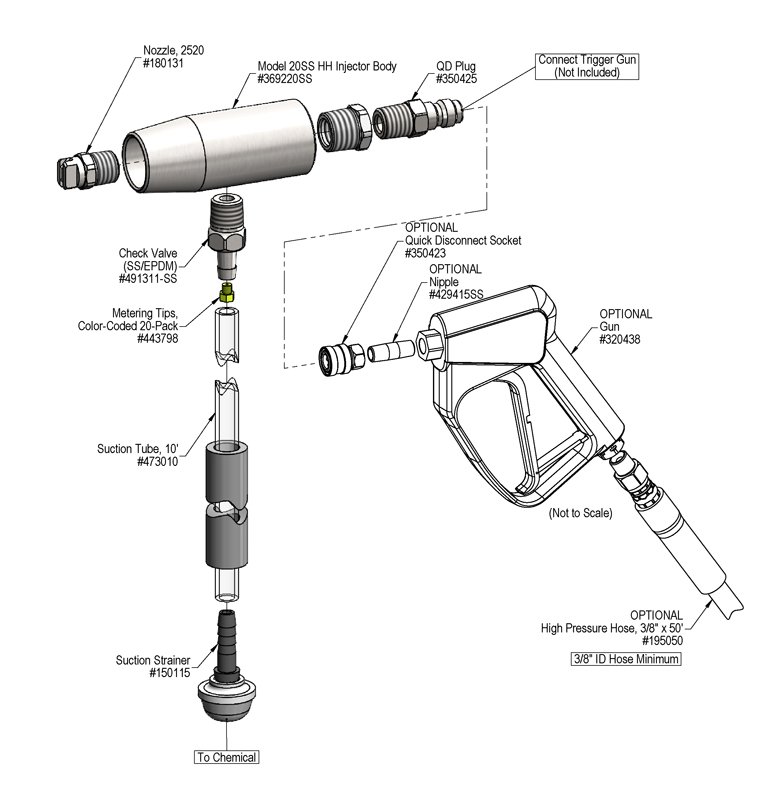
| Water Temperature | up to 180°F |
| Pressure Washer | 2.2 - 5.5 GPM |
| Supply Hose | 3/8" ID minimum |
Lafferty Equipment Manufacturing, LLC
Installation & Operation Instructions
Model # 969520 · Model 20 SS Hose End Sprayer
Requirements
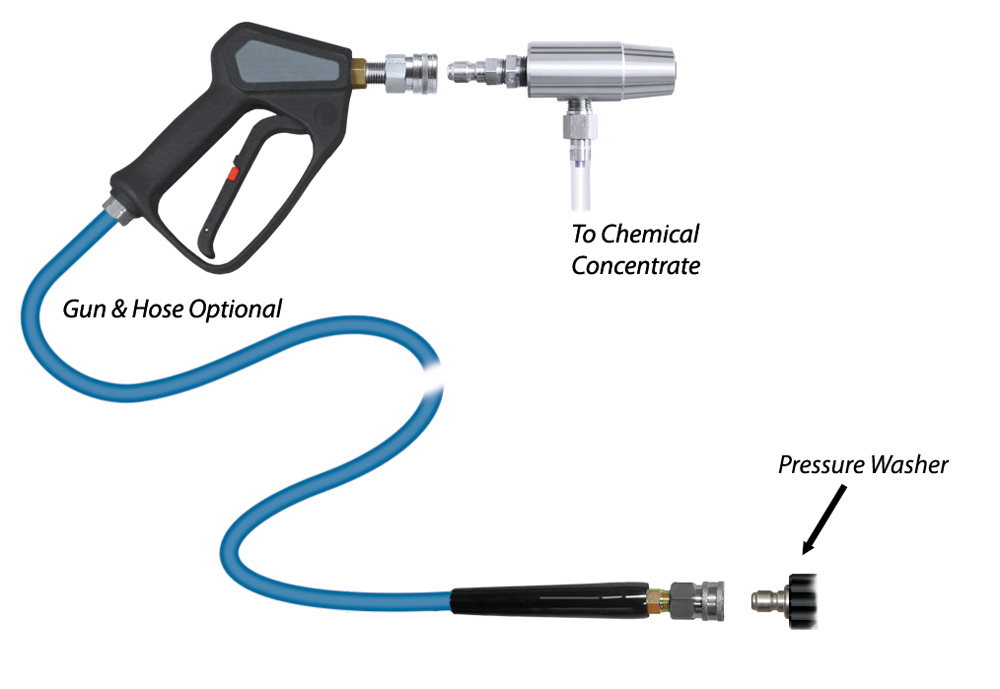
Overview
Designed for 2.2–5.5 GPM pressure washers. The Model 20 Stainless Steel Hose-End Sprayer is a chemical spray applicator for quickly diluting and applying virtually any liquid chemical. This venturi unit draws chemical concentrate into the water stream to create an accurately diluted solution. The solution is then projected as a fan pattern chemical spray on to surfaces up close or at a distance.